Introduction
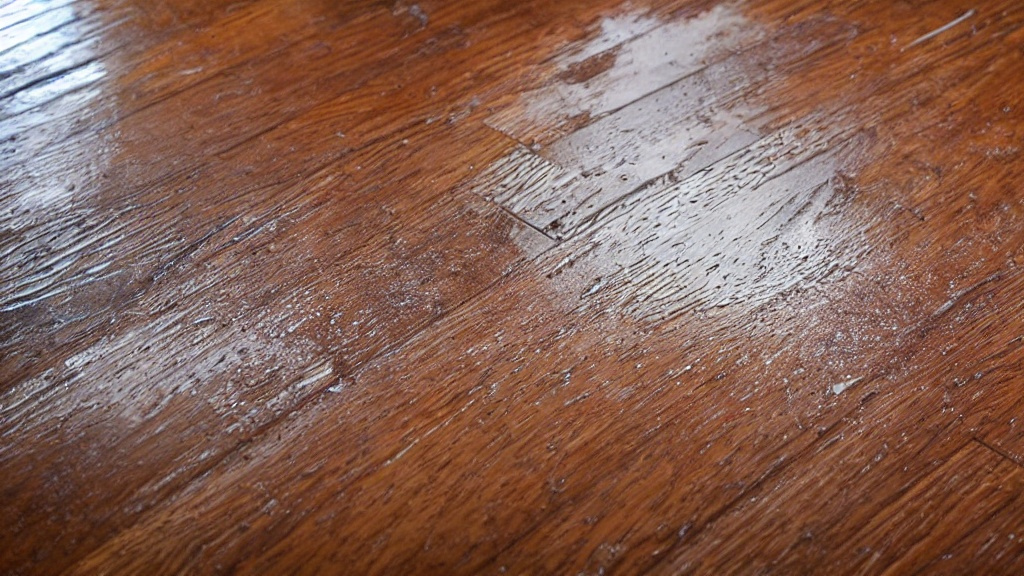
Water damage to wood floors can be a homeowner’s nightmare, whether it’s caused by flooding, burst pipes, or even minor leaks. However, all hope is not lost if your beloved hardwood floors have fallen victim to water damage. With prompt action and the right techniques, you can salvage your wood floors and restore them to their former glory. In this comprehensive guide, we’ll delve into the steps you need to take to save your water-damaged wood floor.
Step 1: Assessing the Damage
Before you can begin the restoration process, it’s crucial to assess the extent of the damage. Inspect the affected area carefully to determine how much water has penetrated the wood floor. Keep in mind that water can seep into the floor through various entry points, including seams, breaks in the coating, and under baseboards.
Also Read: Dealing with Water Damage Houston: Expert Restoration Services
Step 2: Removing Standing Water
The first step in salvaging water-damaged wood floors is to remove any standing water as quickly as possible. Use a shop vacuum on “wet mode” to suck up the water from the surface of the flooring. Additionally, a squeegee can help gather the water efficiently. Be thorough in this step to prevent further water absorption and mitigate the risk of mold and mildew growth.
Step 3: Cleaning and Scrubbing
Once you’ve removed the standing water, it’s time to clean and scrub the wood floor thoroughly. Mix a mild detergent with clean water and scrub the entire floor and related woodwork using a stiff brush. Pay close attention to removing dirt, mud, silt, and organic material, as these can promote mold growth if left unchecked.
Step 4: Treating Moldy Areas
If you notice any areas with signs of mold growth, it’s essential to address them promptly. Use a solution of trisodium phosphate (TSP) or a TSP substitute mixed with water to clean the affected areas. Scrub vigorously until the mold and mold discoloration are gone, then rinse with clear water and dry the surface thoroughly with an absorbent cloth.
Step 5: Drying the Floor
Proper drying is crucial to prevent further damage and mold growth. Dry the floor naturally and slowly using fans and plenty of airflow through the space. Open windows and doors to facilitate cross-ventilation and move moisture out of the area. Be patient during this step, as thorough drying is essential before proceeding to the next phase of restoration.
Step 6: Sanding and Refinishing
After the wood floor has dried completely, you may notice some concave or convex areas, commonly referred to as “cupping.” Sanding with a drum or orbital sander can help smooth out minor imperfections. However, heavily cupped wood may require more extensive repairs, including replacement of damaged boards. Once the floor is leveled, refinishing can restore its shine and protect it from future damage.

Prevention and Maintenance Tips
While dealing with water damage to wood floors can be stressful, there are proactive measures you can take to prevent future incidents:
- Swiftly clean up any water spills or pooled water on your hardwood floors to minimize damage.
- Maintain your wood floors by ensuring they have a protective coating of polyurethane, which reduces susceptibility to water damage.
- Avoid excessive water or cleaning solution usage during cleaning, and use caution to prevent excessive moisture absorption by the wood grain.
- Regularly inspect plumbing and fixtures, and consult professionals for installations and maintenance.
- Consider turning off the water main to your home during extended absences to prevent water damage.
Also Read: Water Damage Charlotte: Navigating Restoration Services in The Queen City
Conclusion
Water damage to wood floors is a common issue that homeowners may face, but with prompt action and proper techniques, it’s possible to salvage and restore your beloved hardwood floors. By following the steps outlined in this guide and implementing preventive measures, you can protect your wood floors from future water damage and enjoy their beauty for years to come.


